


How To Create And Build Your First Android App In Android Studio
Creating a mobile app can be a daunting task for those who are unfamiliar with the world of mobile development. It requires considerable knowledge of the various components and processes involved in building a successful app. However, the process becomes much easier with the help of the right tools. Android Studio is a great choice for those who want to create Android apps.
Android Studio is an integrated development environment (IDE) created by Google for developing Android apps. It includes a code editor, a debugger, an emulator, and a wide range of other features designed to make Android app development more efficient. It is also free and open-source, which makes it an even more attractive choice for developers.
In this article, we will guide you through the process of creating and building your first Android app using Android Studio. We will start by introducing what mobile development entails and why Android Studio is the best choice for building Android apps. We will then discuss how to create an Android app in Android Studio, setting up Android Studio for the development environment, and creating a new project.
Once you have created a new project, we will discuss how to write code for your app, and lastly, how to build your first Android app. We will walk you through the process of configuring the app, building it, testing it, and finally, deploying it. By the end of this article, you will be well-equipped to create and build your very own Android app. So let’s get started!
How to Create an Android App in Android Studio
Creating an app in Android Studio is a straightforward process that requires a basic understanding of how development works and the language of Android. The process starts with downloading and installing Android Studio, then creating a new project in the development environment. After that, users can choose their project type and target device, create an activity, and write their app code. Finally, the app can be built, tested, and deployed.
To begin the process of creating an Android app, the first step is to download and install Android Studio. Android Studio is the official integrated development environment (IDE) for the Android operating system. It provides a complete set of tools and features for both developing and debugging apps. The user interface of Android Studio is designed to make coding and debugging faster and easier.
Once Android Studio is installed, users can create a new project by clicking the “New Project” button. This will open a project wizard, where users can choose the type of project they want to create and the target device. Examples of different projects include game apps, social networking apps, and business apps. After selecting the type of project, users can select the target device, which can be either an Android phone or tablet.
The next step is to create an activity, which is a series of commands that will be used to build the app. Creating an activity in Android Studio is done by going to the “New Activity” window and selecting the type of activity. The activities available to choose from range from “Activity” to “Fragment” and “Map Activity.”
After creating the activity, users can start writing the code for their app. Android Studio has an integrated code editor, which makes writing code easier. The code editor has syntax highlighting, autocomplete features, and debugging capabilities. With the code editor, users can write, debug, and execute their code.
Finally, users can build their app and deploy it to the target device. To do this, users need to configure the app and build it using the “Build” button. Once the app is built, it can be tested on the target device. If the app is working properly, users can then deploy it to the device.
Creating an Android app in Android Studio is not difficult, but it does require some knowledge of development and the language of Android. With the right tools and knowledge, users can create a functional and interactive app in a short amount of time.
Setting Up Android Studio
Android Studio is the official integrated development environment (IDE) for Google’s Android operating system. The free software comes with everything you need to achieve the full Android development experience. It is the best choice for developing Android apps as it simplifies the whole development process and provides access to a vast collection of libraries and tools.
The first step in setting up Android Studio is downloading and installing the software. This procedure is straightforward and doesn’t require advanced technical knowledge. Once the installation is complete, you will be greeted with the familiar user interface of the IDE. The layout of the Android Studio development environment is divided into four sections:
The project window, located in the top-left part of the window, is used to view and manage all the files and folders associated with the project. It also shows the current Android SDK version being used in the project.
The tool windows, located on the right, contain different tools and options that can be used to customize the project. These include components such as the Database, Profiler, Logcat, and Layout Editor, among others.
The editor area, located in the center, is used to edit any code in the project. It contains various features such as instant code completion, syntax highlighting, and quick fixes. The editor also includes an integrated debugger.
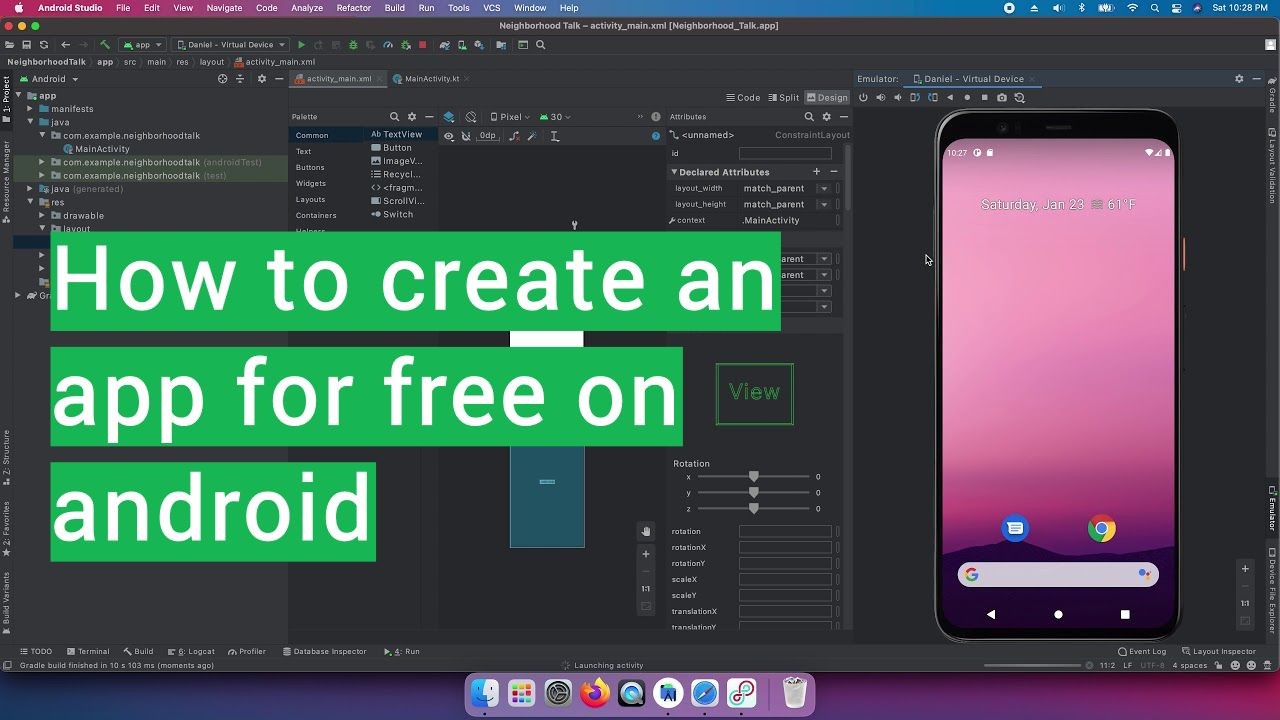
The design view, located at the bottom, is used to display the graphical representation of the user interface. It allows you to easily drag and drop components into the user interface and view the layout of the app.
Once you’re familiar with the layout of the IDE, you can begin the process of creating a new project. This involves selecting the type of project, such as a basic or a more complex one, as well as selecting the target device. After creating the project, you can begin writing the code for your app. With the help of Android Studio’s syntax highlighting and code completion features, creating and editing code is easy. Finally, you can configure, build, test, and deploy the app.
Setting up Android Studio is the first step towards successfully developing mobile apps. With its comprehensive tools and features, Android Studio makes the whole development process easier and more efficient.
Creating a New Project
When creating a new project in Android Studio, there are a few important steps to follow. First, users must select a project type. Android Studio offers a variety of project types, including "Application," "Library," and "Google App Engine." Depending on the type of app being created, users may choose one of these types.
Next, users should select a target device for their app. This will determine the type of Android device their app will run on. Selecting the right target device is important as it will determine the app's compatibility with other Android devices.
Once the target device is chosen, users can create an activity that will appear in the app. Activities are the building blocks for an app and can include things like a web page, a login page, a list of items, etc. Users can also add other types of activities such as services, broadcast receivers, and content providers.
The last step in creating a new project is to write the app's code. It is important to use the correct coding style when writing code, as this will dictate the app's performance and functionality. Code should also be easy to read and understand. Debugging and troubleshooting code is also essential. This ensures that the app will work properly on different devices.
Creating an Android app in Android Studio is easy and intuitive. By following the steps listed above, users can create their own app in no time. With the right coding style and tools, users can build an app that works on various Android devices.
Writing Code for Your App
Writing code for your Android app is an essential step for creating your first app. In order to get the app to do what you want it to do, you must write code that utilizes the different components and components of Android Studio. This section will provide an introduction to the code writing process in Android Studio and demonstrate the different techniques used to debug and troubleshoot code.
When writing code in Android Studio, you will have access to the powerful Java programming language. Java is one of the most popular programming languages in the world and is used by millions of developers to create a wide variety of apps and programs. Java is a great choice for Android development because it’s easy to learn, and many of the core components of Android development are written in Java. One of the best ways to learn Java is to use the tutorials and documentation provided by the Android Developer website.
To get started, you will need to create a project in Android Studio. Once your project is created, you can start writing code in the Java files associated with that project. Many of the core components of Android development are already written for you within the project, so you don't have to worry about learning the syntax of Java to get started. However, it’s still important to understand the different parts of Android development so that you can write code that is more efficient and better fits with the rest of your project.
Debugging is an important part of the code writing process. This process allows you to identify and fix any errors or issues in your code before your app is released. Android Studio provides several tools for debugging your app, including the Android Monitor, Logcat, and Android Device Monitor. By using these tools, you can pinpoint the exact line of code where an error occurs and make changes to the code to fix it.
Finally, it is important to understand how to troubleshoot your code. Troubleshooting involves identifying potential problems in your code before they become too severe. This can be done using the Android Debugging Bridge (ADB), which is a powerful command-line tool that allows you to debug your app from the command line. By using this tool, you can identify potential sources of errors and make changes to your code to fix them.
Writing code for your Android app is an important part of the development process. By understanding the basics of the Java programming language and learning how to debug and troubleshoot code, you can create a well-functioning Android app in Android Studio. By taking the time to learn the basics, you can save yourself a lot of time and effort in the long run.
How to Build Your First Android App
Once you have written the code for your app, the next step is to build it. This process involves configuring, compiling, and testing your app before you can deploy it. There are several important steps that you should take when building your Android app. Here, we will outline those steps so that you can create your first Android app in Android Studio.
The first step in building an Android app is to configure the app. This involves setting up a project structure and configuration options. In Android Studio, you can configure your project from the Project Structure window. Here, you can view and edit settings such as the Android SDK, build targets, and more. You can also set up your project’s structure, such as where your source code is located, which libraries are included, and which build system is used.
The next step is to build your app. This involves compiling the code and creating an Android package file (APK). In Android Studio, you can build your app from the Build menu. You can select which build variants and targets to build, as well as choose to build and install the app on a simulator or device. Once the build process is complete, the APK file will be generated.
The third step is to test your app. This involves running the app on a virtual device or device to see how it performs. In Android Studio, you can run your app from the Run menu. You can also set up automated tests to run on your app. This is essential for ensuring that your app is functioning as expected.
The final step is to deploy your app. This involves packaging and submitting your app to the Google Play Store. In Android Studio, you can deploy your app from the Build menu. Here, you can select which version of your app to release, as well as which countries and languages that the app will be available in. Once you have selected the necessary options, you can submit your app for review.
By following these steps, you can build, test, and deploy your first Android app in Android Studio. This process may seem daunting at first, but with a bit of practice, it will become second nature. With that, you can create your very own Android app and start your journey as an app developer.

Comments (1)
Adarsh Kumar
I need the link of Petross 2.0.apk is very important sir